4. Initial Configuration
Activate extension
After the installation you can start Esri ArcGIS Desktop® to use the extension.
Check under Customize > Extensions that the extension is installed and enabled:
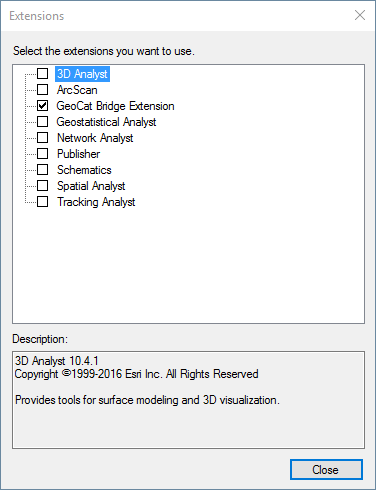
Activate extension
Show Bridge toolbar
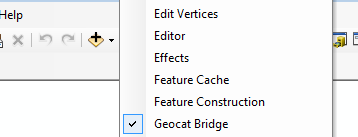
ArcMap toolbars

Bridge toolbar
The Bridge toolbar is shown.
Configuration wizard

Wizard welcome screen
When you enable the extension for the first time, the configuration wizard appears to help you to configure Bridge. You can skip screens in case you do not have all the information at hand. It is possible to re-run the Configuration wizard from the Bridge toolbar at a later moment.
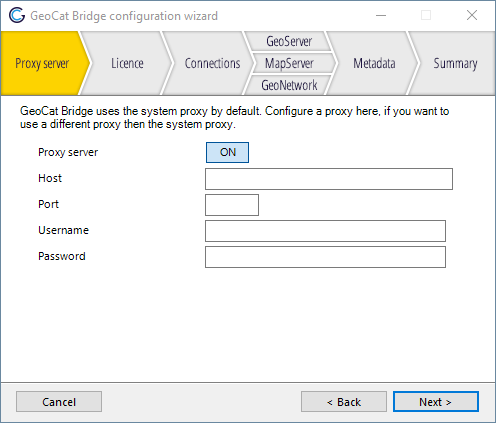
Proxy server
If you want to use a proxy server to access the Internet other than the global system proxy, configure the proxy connection.
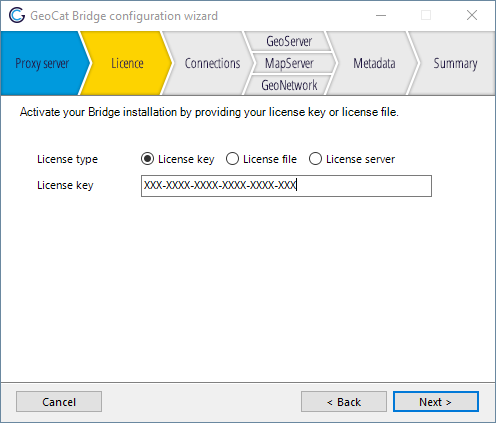
License key
To use the Bridge extension you must activate your installation with a valid license key. Enter the license key for validation. The validation process requires an Internet connection. If your machine is not connected to the internet, there is the option to activate your installation using a license file. This option does not require an internet connection. Contact the GeoCat helpdesk for this. See also license file activation.
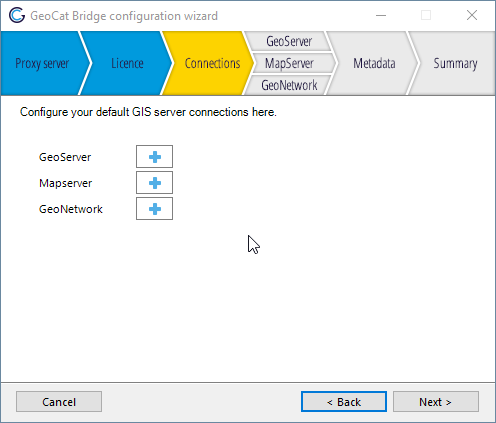
Add or edit connections
Here you can add or edit your default GIS server connections, click on  to add a GIS server connection. Or click on
  to edit an existing connection. The configuration wizard allows you to create/edit one GeoServer, MapServer and GeoNetwork connection. If you require to create multiple server of one type see Server connections.
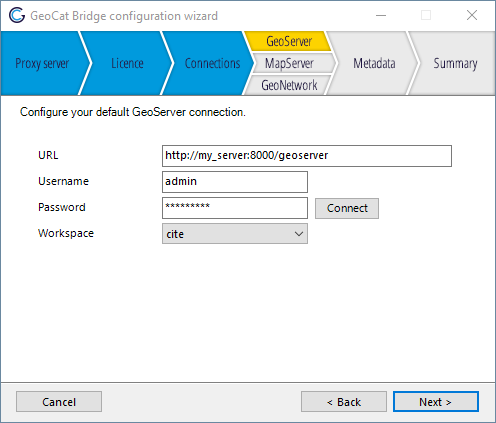
GeoServer connection configuration
Fill in the connection parameters for your GeoServer connection. The configuration wizard creates a basic GeoServer using filebased datastores, so using Shapefile or GeoPackage [1] for vector and GeoTIFF for raster.
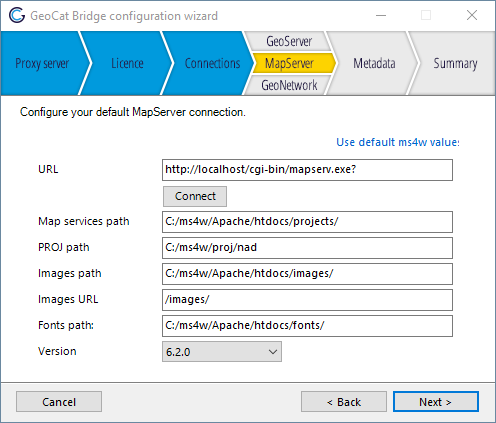
MapServer connection configuration
Fill in the connection parameters for your MapServer connection. Click on Use default MS4W values if you are running MapServer 4 Windows (MS4W). Browse to the MS4W installation folder and Bridge will fill in the connection parameters.
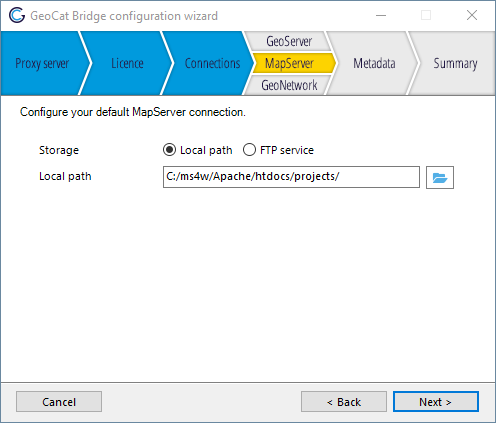
MapServer data configuration
Configure the data connection to MapServer, you can either configure:
- Direct access to the MapServer web folder by browsing to a folder path
- Setup a ftp connection to the MapServer web folder [2]
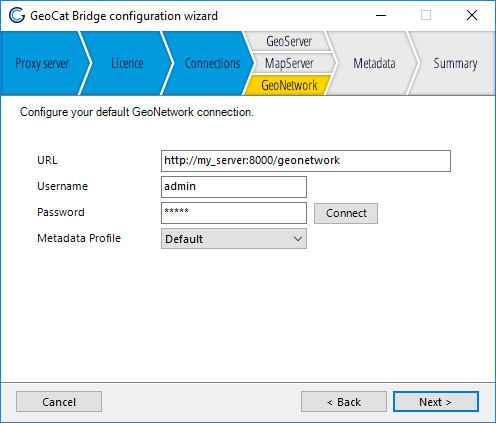
GeoNetwork connection configuration
Fill in the connection parameters for your GeoNetwork connection. The metadata profile field only shows up with a Premium license and determines the metadata profile that Bridge uses to publish metadata to GeoNetwork.
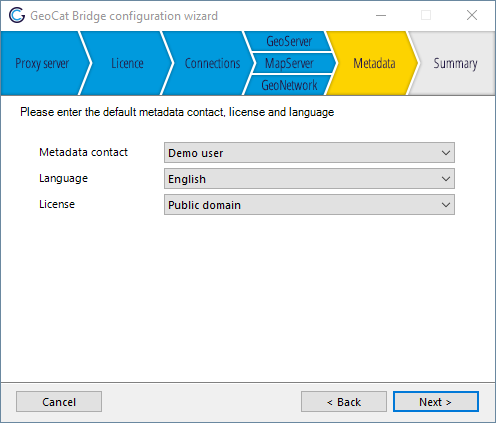
Metadata configuration
Here you can enter the default metadata contact, license and language. When a layer does not have any metadata defined Bridge will use these values while publishing to the map and catalog servers.
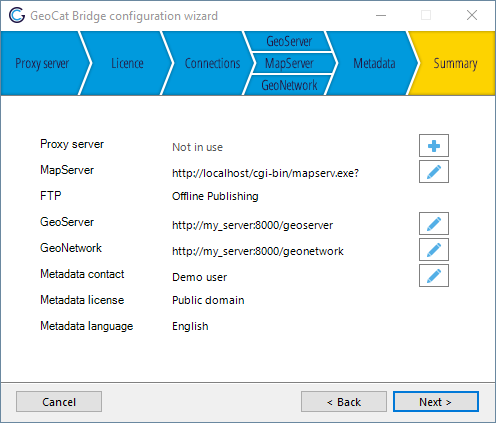
Configuration summary
Overview of the server configurations. Click to edit a server configuration and click to add a server configuration if you have not configured a server yet.
Configuration complete
License file activation
When Bridge is unable to connect to our licenser server due to your network configuration, we provide the option of activating GeoCat Bridge with a license file. The license file activation consists of four steps:
Step 1
Email to support@geocat.net with a request to obtain a license file to activate Bridge.
Step 2
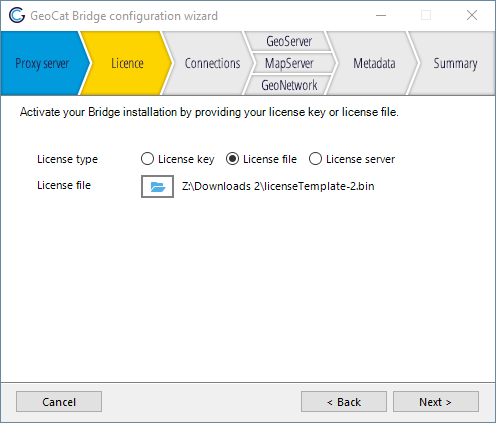
License file activation
In the configuration or license wizard select the option License file and browse to the license file you received from GeoCat support, click next.
Step 3
This will generate a shortcode, email the generated shortcode to GeoCat support (support@geocat.net).
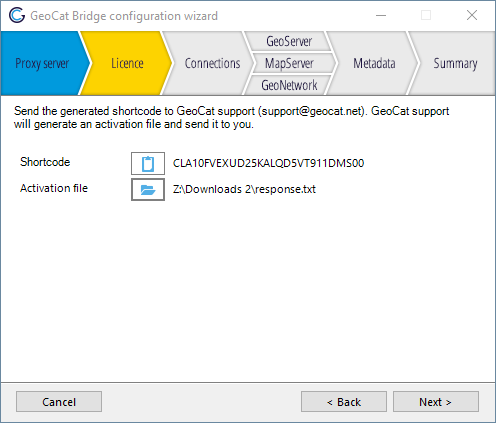
Short code
Step 4
GeoCat support will create a activation file using the shortcode you sent in Step 3 and send it to you. Select this activation file (see Step 3) and click next to finish the activation.
Note
While waiting for the activation file from GeoCat support you can close the Configuration/License wizard. When you have received the activation file, you can do step 2 and 3 with the license file you used to generate the shortcode.

Activation success
Footnotes
| [1] | Requires GeoServer version 2.12 or higher, when version is lower requires GeoPackage extension to be installed, see GeoPackage. |
| [2] | For this it is required to configure a ftp service on the machine that is running MapServer |